Custom views in Universe
Saved Views
Views let you save a named configuration of your Companies page — filters, columns, sort order, and table or map mode — and switch between setups in one click.
Where to find Views
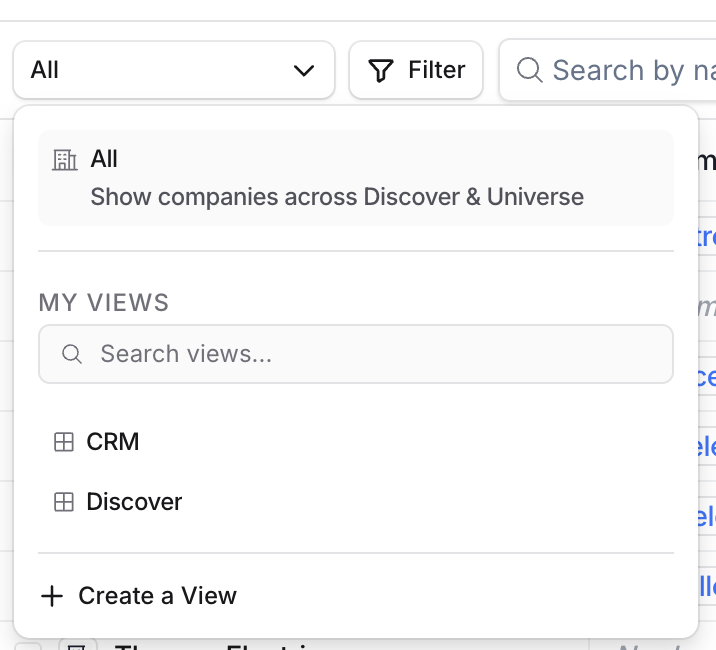
On the Companies page, look for the View dropdown in the header (the pill-shaped button showing your current view name). Click it to open the menu.
The menu has three sections:
All — the built-in default that shows all companies. Always pinned at the top; cannot be edited or deleted.
My Views — your saved views, with default views listed first followed by any custom ones you've created. Has a search box to find views by name.
+ Create a View — the button at the bottom to start a new view.
What a View saves
When you save a View, it remembers:
Filters — every filter currently applied to the table
Columns — which columns are visible, their order, and their widths
Sort — which column you're sorted by and in which direction
View type — whether you're in Table or Map mode
Favorites — you can star any view for quick access; your stars are personal and don't affect teammates
Switching to a View instantly replays all of the above onto your Companies table.
Creating a View
Option 1 — From scratch
Set up your filters, columns, and sort exactly how you want them.
Open the View dropdown and click + Create a View.
Type a name (e.g. High Intent – Asian Restaurants) and press Create View or hit Enter.
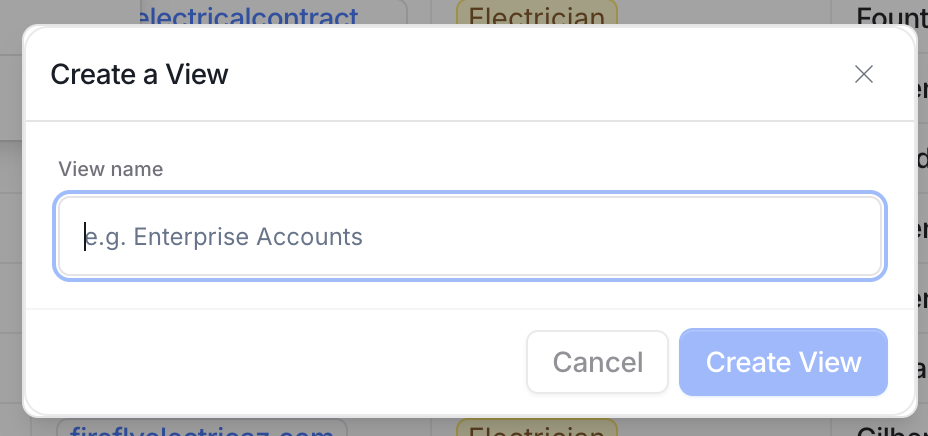
The new view captures your current table state. If you click Create before setting anything up, the view starts blank and you can configure it afterwards.
Option 2 — Duplicate an existing view
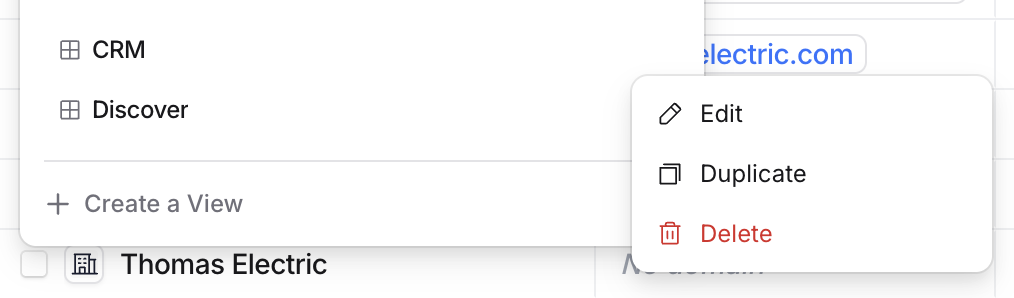
If a default view is close to what you need, hover it in the dropdown, click ⋯ → Duplicate, and a copy named [original] copy will appear in My Views. Hover the copy and click ⋯ → Edit to rename and refine it.
Editing a View
Changes to your active view save automatically. There are three ways to update one:
Rename or reconfigure — hover the view in the dropdown, click ⋯ → Edit
Column changes — showing, hiding, reordering, or resizing columns on the table saves directly into the active view
Filter changes — applying or removing filters while a view is active saves into that view
Step 4: Manage Views
To pin a view, select the view and click the ‘⭐ Star’ next to the name.
To delete, duplicate, or edit a view, use the respective options available.

Step 5: Switch Between View Types
To change the view type, click 'Edit View'.
Select 'Map View' or 'Table View' as needed and click 'Apply'. Refresh the page to see your changes.